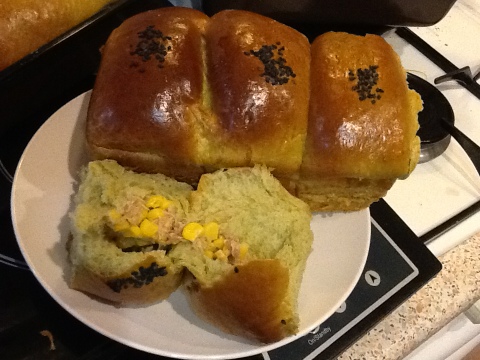
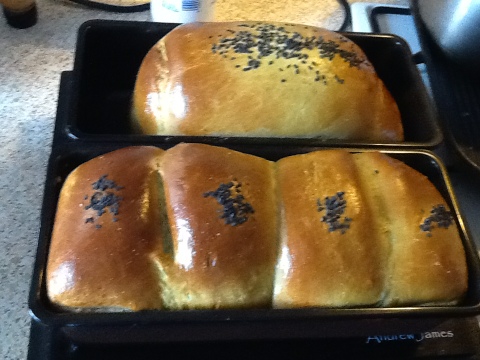
2 coloured Milky Spinach Silver Thread / Flower Roll Steamed Buns
A healthy treat for my little 6-month old (nearly 7 months now) and my little 3-year old, I decided to make milky spinach steamed buns. I made wheat grass buns before (both baked and steamed), but they tasted raw (tasted like grass – cow’s food as Hubs commented) not the most pleasant. After that episode I was a bit reluctant on using greens to make buns.
These milky spinach steamed buns are inspired by cousin Polly.
As these buns were meant for my little-lings, I used baby formula milk (was tempted to use mummy’s milk but decided against it). You can use fresh milk or semi skimmed milk powder.

Milky Spinach Silver Thread / Flower Rool Steamed Buns
Recipe is similar to my previous post on making steamed buns with ‘Old Dough’. The changes I made to the original recipe is to substitute 160 ml of fresh milk with baby formula milk for the white part of the buns and used spinach juice plus semi skimmed milk powder for the green buns. For your convenience, here is the recipe again.
Ingredients for Old Dough
50g plain flour
150g self raising flour
110 ml water
1/2 tsp instant yeast
Ingredients for Man Tou
160 ml fresh milk*
* or baby formula milk
* or spinach juice from 100 g of spinach plus 2 tbsp milk powder

2 Coloured Milky Spinach Steamed Rolls
100g plain flour
200g self raising flour
30g sugar (I used unrefined Demerara, 30 g when making for kiddies, 70 g for adults)
1 tbsp oil
70g’old dough’ (1/4 of the portion made earlier)
5g yeast
Method
To make Old Dough: Add the dry ingredients in a big mixing bowl, make a well and pour the liquid slowly into the well in 2 portions. Mix with a spoon until a dough is form and knead with hands. Divide the Old Dough into 4 portions and freeze until required. Can be frozen for a couple of months (I must admit, I used my breadmaker to make the dough).
To make Man Tou
I mix the ingredients with my breadmaker set at ‘dough’ function or you can do it the traditional way – using elbow grease.
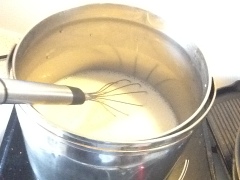
- Add the dry ingredients in a big mixing bowl, make a well and place the old dough in the centre (make sure the old dough is fully defrosted if kept in the freezer). Press the old dough down.
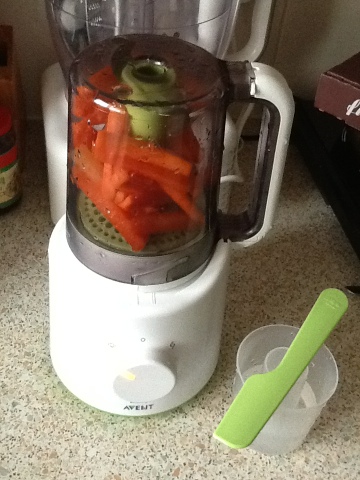
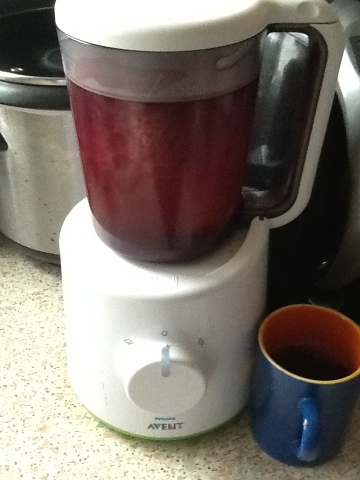
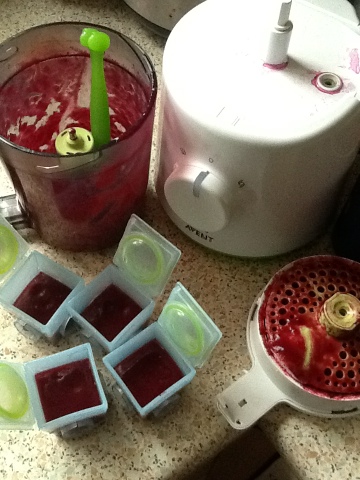
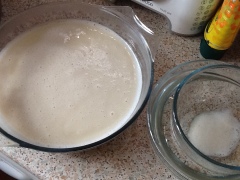
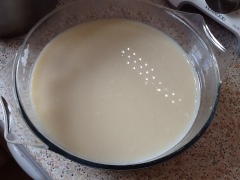
- Pour the milk (or spinach juice) slowly into the well in 4 portions. I used my Philip Avent Combined Steamer and Blender to prepare the ‘spinach juice’. The spinach was steamed and blended making 160 mL of spinach juice.

- Mix with a spoon until a dough is form and knead with hands.
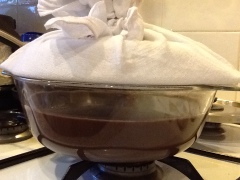
- Cover with a wet cloth and leave to proof for 30 min to 45 mins (until dough double in size).
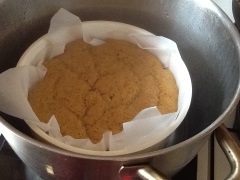
- Divide the dough and shape. Cover with wet cloth and proof again for 30 minutes and steam.
- Steamed and cooled buns can be frozen.
- To reheat, steam for about 20 minutes from frozen. Ensure buns are piping hot and enjoy!
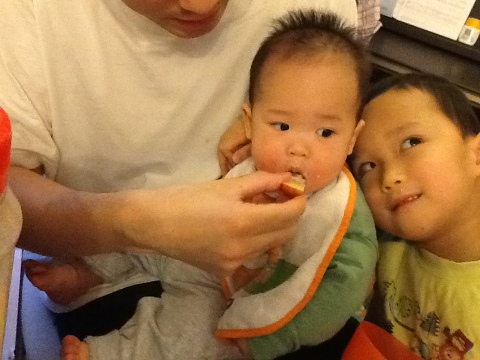
Today, I made 3 lots of buns. The first two lots were 2 coloured buns containing baby milk and reduced sugar for the kiddies. Both boys loved it!
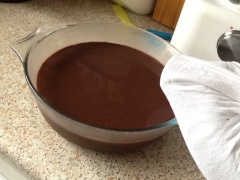
The 3rd lot contains spinach juice and 70 g of sugar for Hubs and myself. I must say, they are quite pleasant, tasted nothing like my wheat grass buns. Give it a go!

 Hui Lin, this is specially for you. Adapted this recipe to make soft TangZhong bread without any diary products….for those who are not bothered whether its diary free or not, or maybe it is more like “depending on what you have in your pantry/fridge” lol, you can use milk and butter for this recipe.

 Hubs been craving for this cake for weeks. He kept bugging me asking if I could squeeze in my busy daily routine to make this cake, lol. So I finally gave in and made him one. It was gone in one sitting. Very soft, moist and yummy.
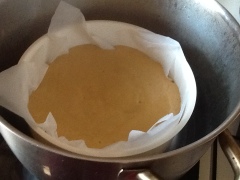
 Soy bean pudding or soy bean curd desert also known as
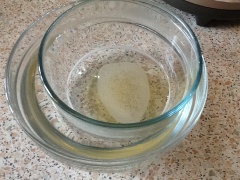
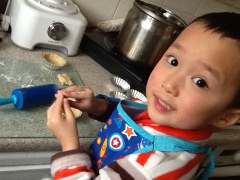
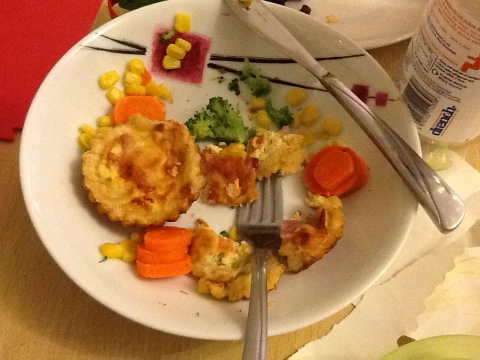
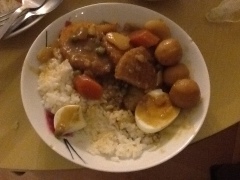
 Ethan’s breaky!